Tile Mortar, a cement-based paste used for binding building materials becomes a formidable adversary when you try to remove it from concrete.
Its modern variation, Thinset, poses a similar removal challenge. The cement-based nature of mortar causes it to dry like cement, further complicating the removal process.
However, with the right approach, successful removal is achievable.
This article guides you through the techniques to remove mortar from concrete removal and provides information for removing other adhesives from concrete.
Read Also: How to Fix Cox Remote Control Not Working
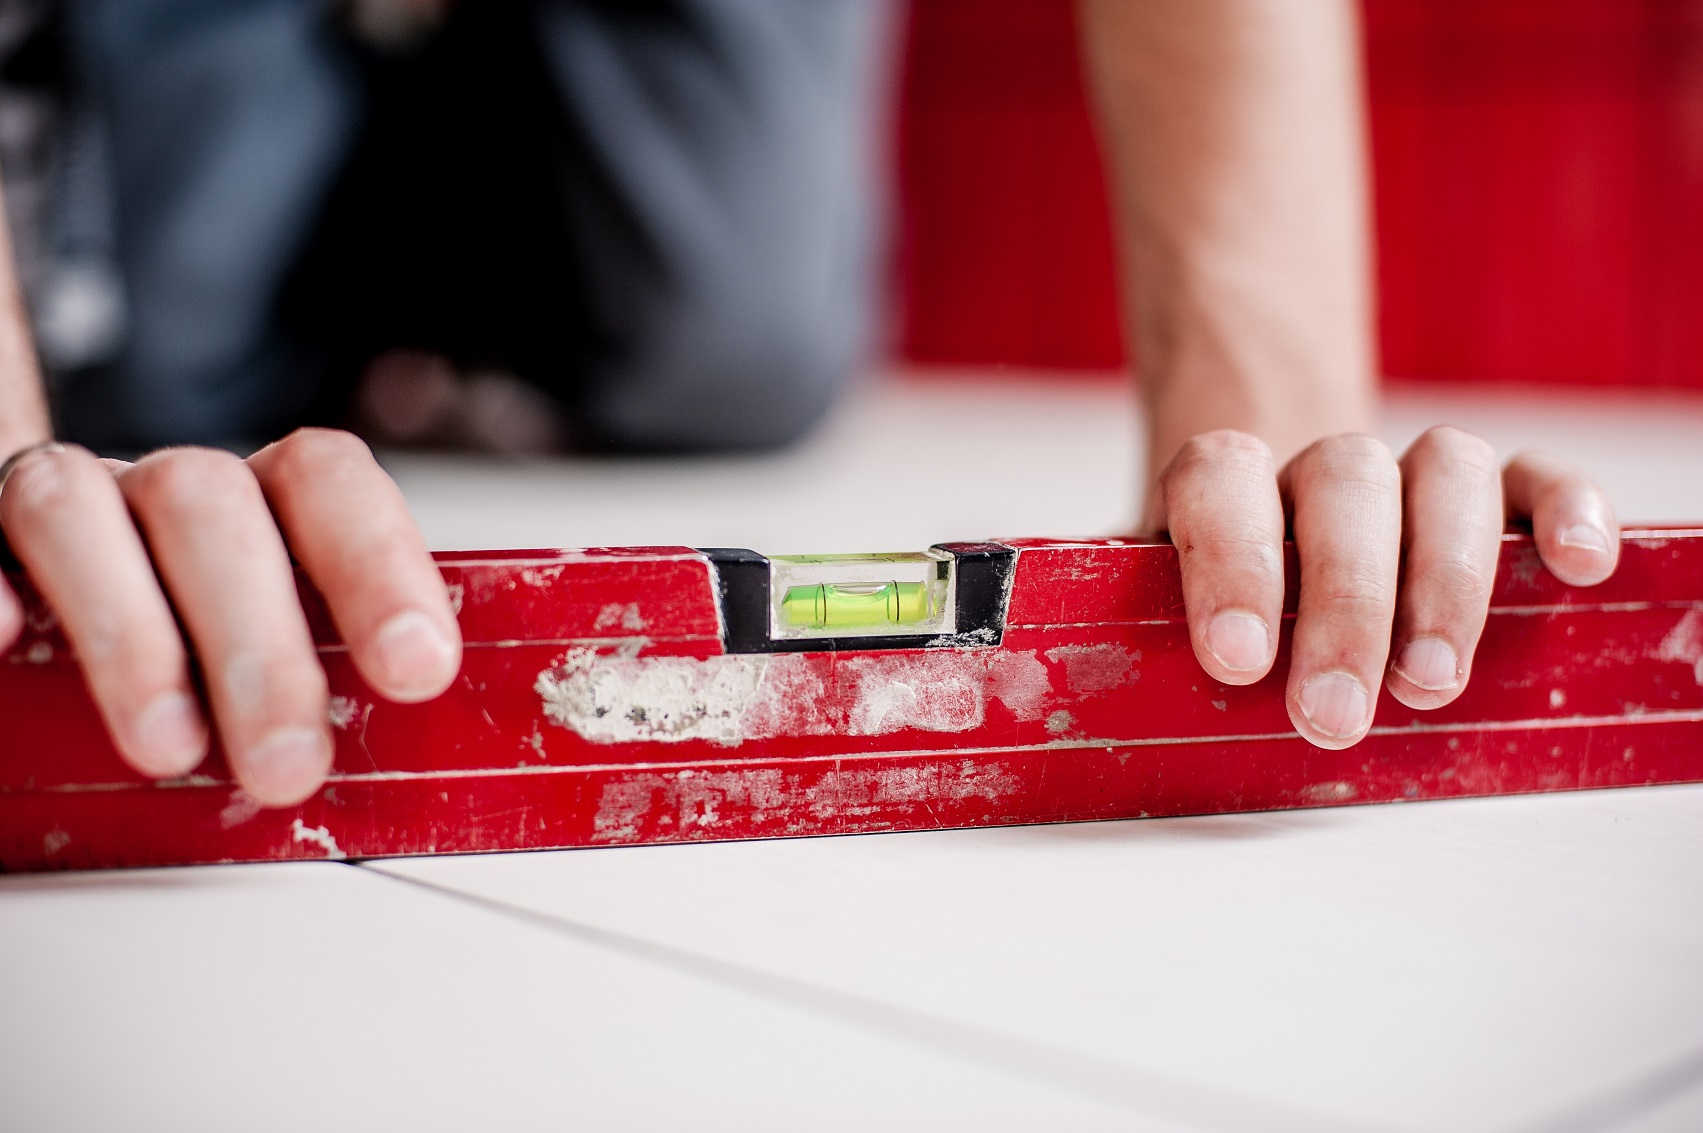
How to Remove Tile Mortar From Concrete
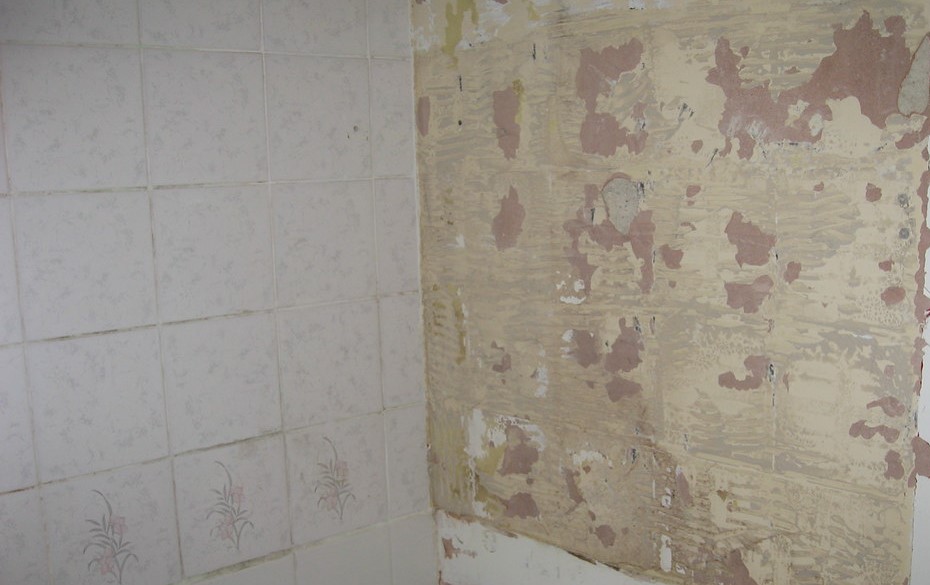
Removing mortar bed, a robust cement-based tiling adhesive can be a challenging task due to its durability and water-resistant properties.
Thinset mortar, a more modern variant, shares similar attributes but is thinner and smoother, commonly used for both indoor and outdoor tiling projects.
To tackle the removal process, follow these steps:
1. Protect Yourself and Property
Before diving into the removal process, prioritize safety. Equip yourself with protective eyewear, a respirator, or a dust mask, and, when using power tools, consider using earplugs.
Safeguard furniture and belongings to prevent dust accumulation during the removal process by laying down plastic sheeting.
2. Use a Chisel and Hammer
Carefully scrape off large chunks of thinset with a chisel and hammer.
Optionally, pour boiling water over the thinset to weaken its bonds, or use vinegar for a faster removal process.
Employ the chisel at a 45-degree angle to work on smaller pieces.
For remaining bits of thinset, use a power scraper to efficiently remove them.
3. Use an Angle Grinder
For persistent mortar, introduce an angle grinder with a diamond cup grinder wheel. While effective, this method generates significant dust.
Use a Shop Vac and consider lightly dampening the area with a water spray bottle to minimize dust.
4. Use a Floor Maintainer
For the most stubborn mortar, employ a floor maintainer with a diamond-cup grinder.
These larger tools sand down the mortar, producing substantial dust. Adequate preparation, such as covering the area with plastic sheeting, is essential.
5. Cleanup
- Collect large mortar pieces and debris, minimizing trips to the dump pile by using small buckets.
- Sweep up dust and smaller debris with an outside broom, known for its stiff bristles that efficiently pick up debris.
- Switch to an inside broom with softer bristles to capture finer dust particles and ensure thorough debris removal.
- Employ a shop vacuum to reach difficult-to-access cracks and crevices, extracting residual dust.
- Conclude the cleanup by mopping the floor, eliminating any lingering mortar dust and ensuring a pristine surface for your remodeling endeavors.
How to Remove Vinyl Tile Adhesive
The removal of vinyl tile adhesive can be a varying challenge, influenced by the age of the tiles.
The process is generally easier for tiles laid more recently compared to those with a longer tenure.
Steps to Remove Vinyl Tile Adhesive
1. Scraping
Utilize a chisel or putty knife to scrape off as much adhesive as possible.
2. Apply Heat
Directly apply heat to stubborn adhesive areas using a hot iron or heat gun positioned a few inches above the glue.
Allow a few minutes for the adhesive to soften before continuing the scraping process.
Avoid placing heating objects directly on the adhesive.
3. Solvent Application
Consider using an orange-based solvent to make the vinyl more pliable, facilitating easier removal.
Read Also: How to Install Peacock on a Samsung Smart TV
How to Remove Mastic Adhesive From Concrete Flooring
Mastic adhesive, known for its historical use, creates a waterproof seal on floors despite not being water-resistant.
To remove old mastic tile glue from concrete:
1. Soak in Water
- Place absorbent rags soaked in water on the mastic-covered concrete floor.
- Allow the moisture to permeate, softening the mastic for easier removal.
2. Scraping
- Employ a putty knife, hammer, chisel, or scaler to scrape off the softened mastic.
- Consider using warm water or adding a citrus cleaner to expedite the process.
3. Buffing
- Eliminate any remaining mastic by buffing the area with sandpaper.
4. Drying
- Allow the tiles to dry completely before reapplying them to the desired surface.
Tips for Removing Old Tile Adhesive From Concrete
When tackling the removal of old tile adhesive from concrete, adhere to these tips to ensure a smooth and efficient process while minimizing risks and preserving the integrity of your concrete floors.
1. Small-Scale Approach
Abide by the principle of starting small in your endeavor to remove old tile adhesive. Initiate with manual methods before resorting to power tools.
These methods are cost-effective, environmentally friendly, and reduce the risk of damage to your concrete floors.
2. Test on Small Areas
Prioritize testing when using chemical adhesives. Apply the remover on a small, inconspicuous area to gauge its effectiveness.
This allows you to assess if the chosen remover is suitable for the task or if a stronger alternative is needed.
3. Work in Small Sections
Opt for a segmented approach by working on small patches at a time. This method proves to be more manageable and expeditious, preventing wastage and overuse of the adhesive remover.
Addressing specific sections individually is particularly beneficial for reapplication in case the remover dries.
4. Thoroughly Read Instructions
Familiarize yourself with the product’s instructions. A comprehensive understanding of recommended usage, application methods, drying time, potential hazards, and applicable surfaces is essential.
The instructions provide crucial insights to ensure the optimal and safe use of the adhesive remover.
5. Clean-Up Process
Initiate the clean-up phase by collecting larger remnants of old tile adhesive. Follow this by sweeping away residual adhesive, small fragments, and dust from the floor.
Employ a soft bristle brush to meticulously capture tiny pieces.
Utilize a vacuum to reach challenging spots and conclude the process with a thorough mop using water and soap.
Why Remove Flooring Adhesives?
It’s essential to understand why removing flooring adhesives is necessary:
1. Water Damage
If your floor has been compromised by water due to floods or sewer damage, it is crucial to remove contaminated adhesives.
Leaving these adhesives in place can lead to issues such as odor, mold, and mildew growth.
2. Asbestos Concerns
Some flooring materials, especially those installed before 1984, may contain asbestos.
Hiring a professional to remove asbestos-containing adhesives is essential to prevent potential health hazards for contractors and residents.
3. Compatibility Issues
Old and new tile adhesive materials may be incompatible. Removing the old adhesive ensures a clean slate for installing new flooring, promoting proper curing and adhesion while preventing installation problems.
Read Also: LG TV Keeps Disconnecting from Wi-Fi (How to Fix?)
To Sum Up
Successfully removing mortar from a concrete slab floor demands patience, careful execution, and the right tools.
Prioritize safety, and utilize appropriate tools for efficient mortar bed removal from concrete.
With this practical guide, you can navigate the process confidently, paving the way for a renewed and refreshed living space.
RELATED POST
Where Can I Repair Syinix TV Screen?
7 Best Smart TVs Brands in Kenya
Best 32-inch Plasma TV, Features, and Prices in Nigeria
Best Smart TVs in Nigeria and How to Connect it to your Smartphone
How to Recharge GOtv without a Service Charge